Plone Viewlets First Contact
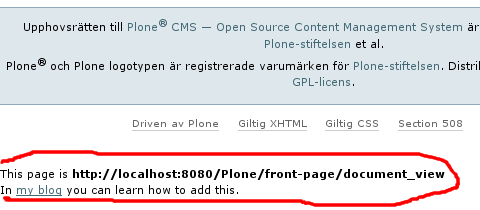
In this tutorial we will learn how to add elements to our plone pages, making something like this appear in your site:
There are a number of things we will not learn about viewlets - but we will get somewhere to start.
Files needed
Only need three files are needed to do this:
__init__.py
configure.zcml
skins/myviewlet_footer.pt
__init__.py
The __init__.py-file only contains a comment. This can be considered good practice since it is otherwise easy for a user to remove blank files.
skins/myviewlet_footer.pt
This is a typical Plone page template (as seen in for example: Plone Archetypes View Template Modifications) and contains nothing fancy:
<p>
  This page is <b tal:content="request/URL">URL</b>
</p>
As you can see we print the url of the present file and then a link to the Plone Cms page in my blog.
configure.zcml
The configure.zcml file contains the real action. It hooks zope and the page template together.
First let's see the important contents and then we will slowly walk through:
<configure ... >

  <browser:viewlet
    name="myviewlet.myviewlet_footer"
    for="*"
    manager="plone.app.layout.viewlets.interfaces.IPortalFooter"
    template="skins/myviewlet_footer.pt"
    permission="zope.Public"
    />

</configure>
As we can see we define a browser:viewlet (so we need the browser namespace). These are the following attributes:
- name="myviewlet.myviewlet_footer", meaning that we call this viewlet myviewlet.myviewlet_footer.
- for="*", meaning that we display it for everything (hopefully I'll elaborate on that in a later tutorial).
- manager="plone.app.layout.viewlets.interfaces.IPortalFooter", this line tells us that our viewlet belongs in the IPortalFooter viewlet manager.
- template="skins/myviewlet_footer.pt", defines the page template file we use.
- permission="zope.Public", means that this viewlet can be viewed by anyone.
Limitations
Things we might want to be able to control that are not covered in this tutorial include:
- Turning the viewlet on and off by installing and uninstalling an Add-on product.
- Only viewing the viewlet for special pages.
- Executing Python code that affects out viewlets.
- More... ?
See also: Plone Cms
This page belongs in Kategori Programmering