Django First Contact
I've worked a bit with Django these last few months.
In case you did not already know django is written in python - and we all love python right?
This short little tutorial demonstrates how you start and get going using your own django site. To try it out and test it you really do not need anything (it is particularly simple in Ubuntu Distro - perhaps all Gnu Linux flavors I do not know).
Start with a clean system
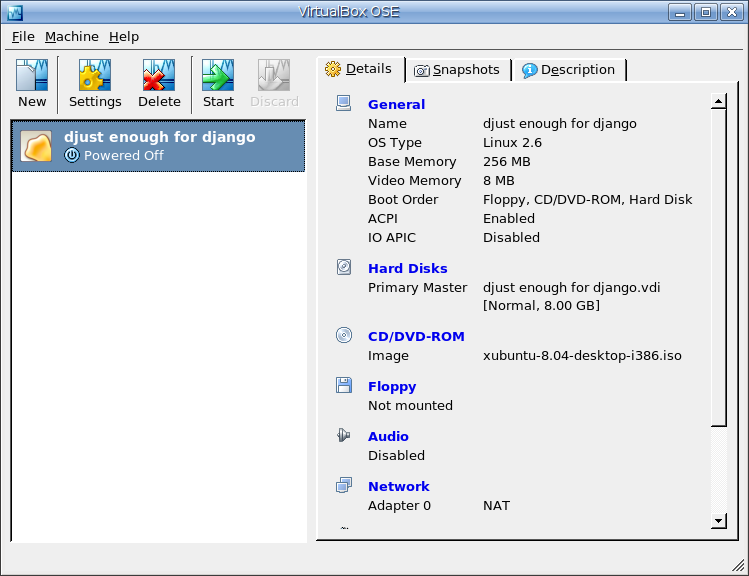
Since I have horribly polluted my computer this little tutorial (and perhaps more later) will be done in a clean Xubuntu Distro VirtualMachine.
Here you can see the setup:
- 256 MB memory
- max 8 GB hard drive
- and so on
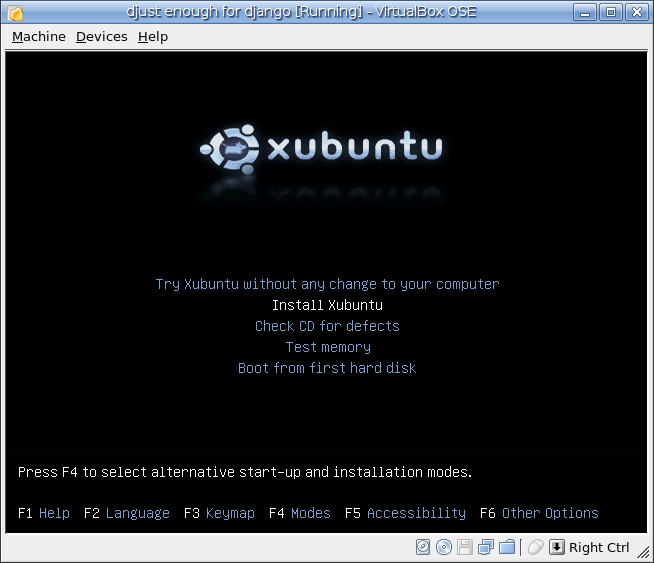
Just select install:
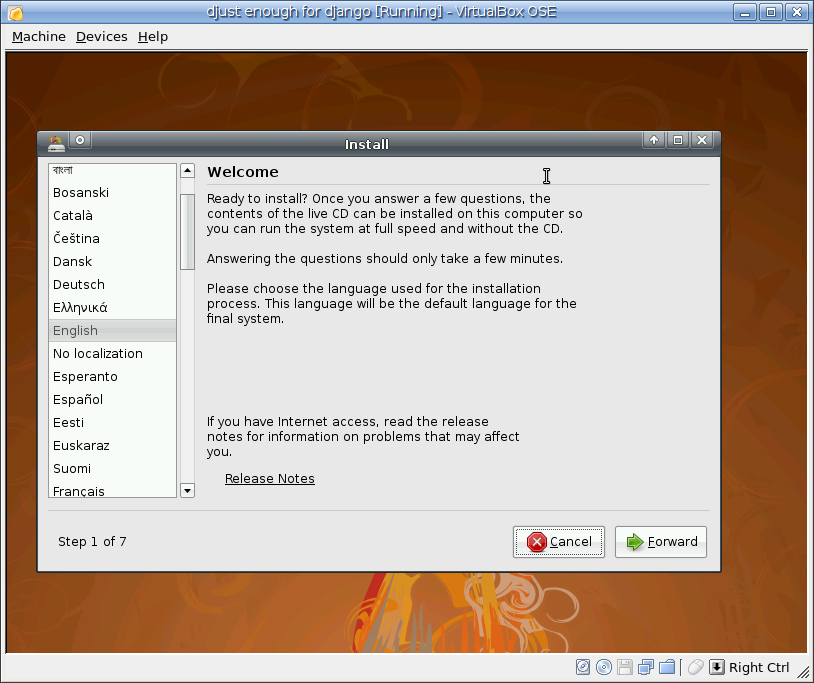
Pass through the wizard...
...and it is installing :)
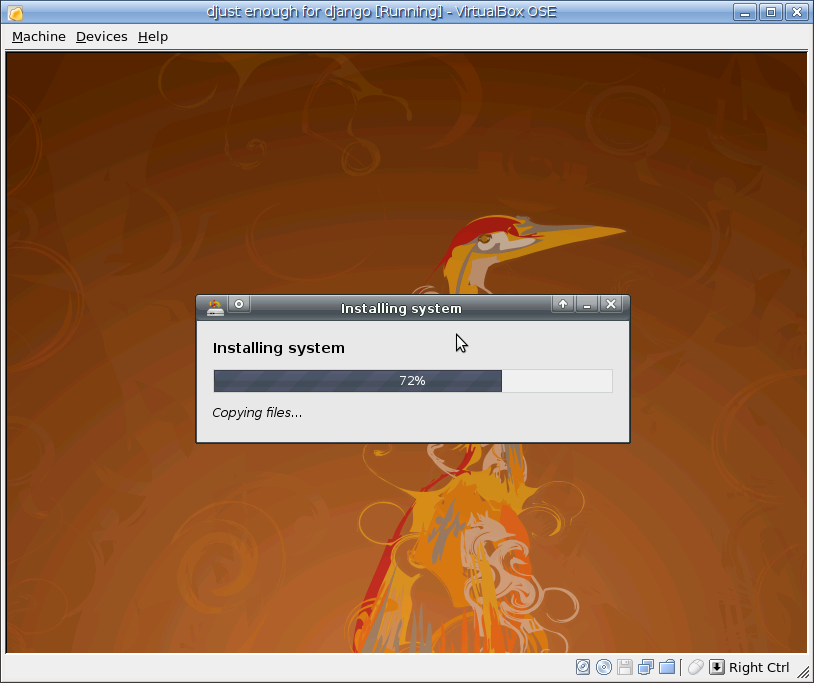
Once completed restart and update the system:
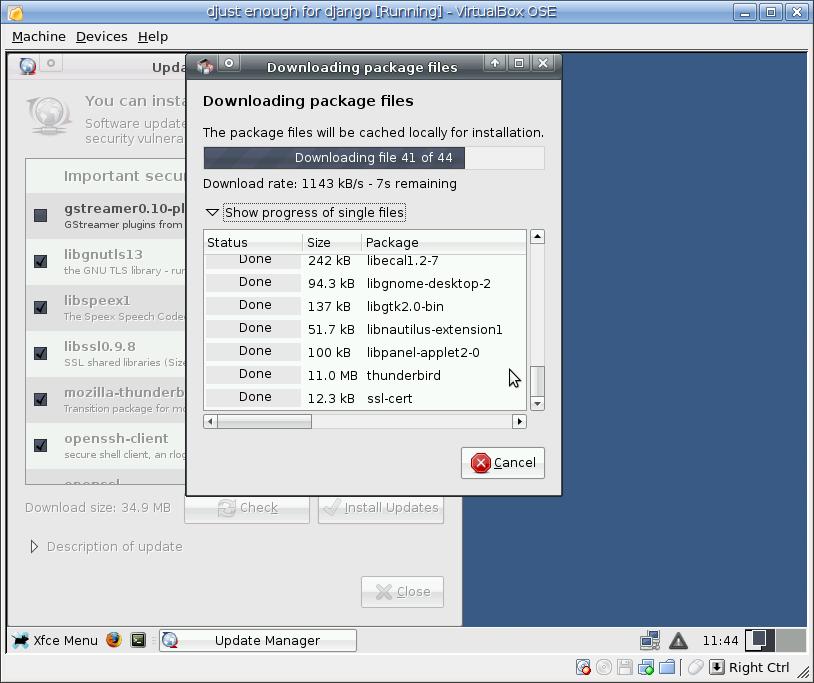
There you go - now we have a clean system - nothing other than plain vanilla Xubuntu Distro is installed.
Let's get to django
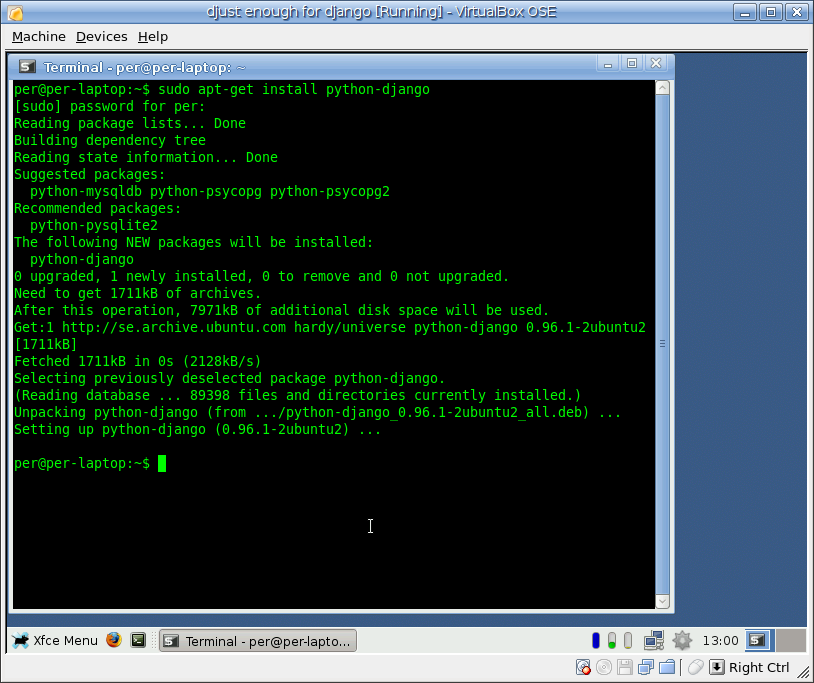
Now we install django. From a terminal (in a debian based Gnu Linux such as Ubuntu Distro or Xubuntu Distro) all you need is sudo apt-get install python-django
Now I am actually lying a bit - at work we use an svn-checkout of django. The reason for that is some incompatibility issue with some add-on. If you install via a checkout you need to RTFM properly: (for download and install instructions see [1] and [2])
Start a project
To get a new django project up and running you need to use the django-admin command: django-admin startproject [NAME], in my case the name is 'foobie'.
Go into the project folder and run the django internal server: python manage.py runserver.
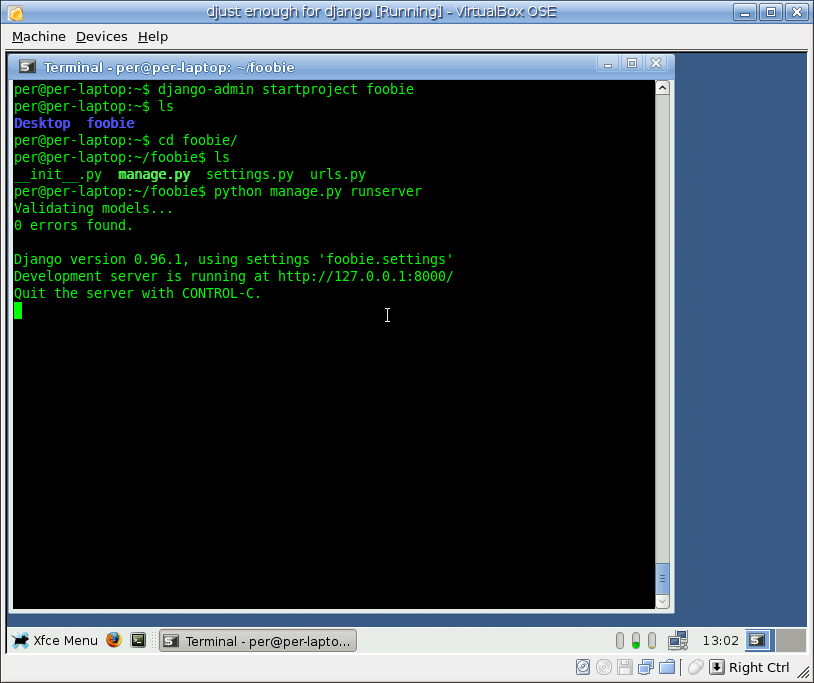
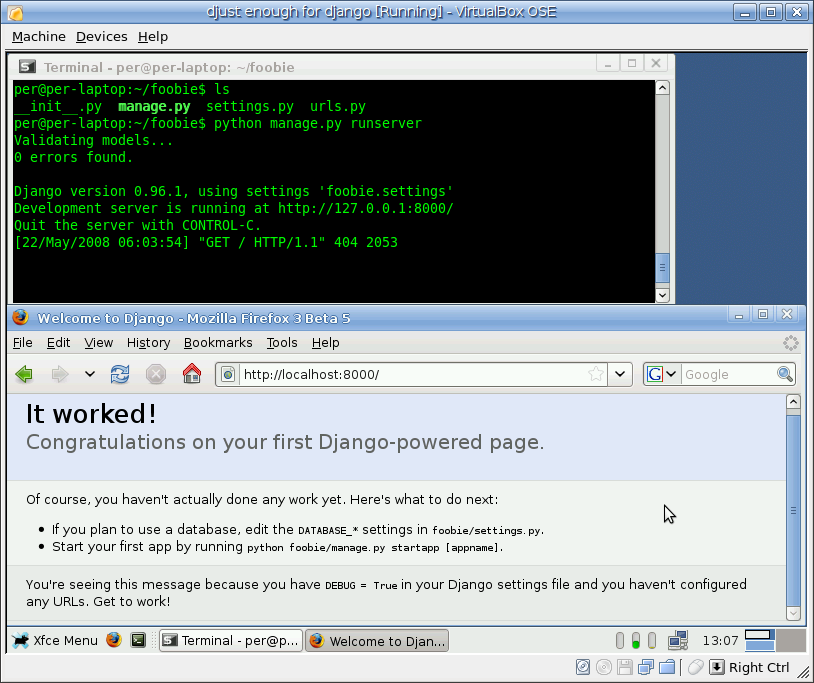
We take a quick look at the output and point our browser to http://localhost:8000
Hook in a database and get some apps
To get a database going we need to edit the settings.py-file. Modify the lines that start with DATABASE_* into something like this:
DATABASE_ENGINE = "sqlite3"
DATABASE_NAME = "data.dat"
DATABASE_USER = ""
DATABASE_PASSWORD = ""
DATABASE_HOST = ""
DATABASE_PORT = ""
As you might have figured out django has no problem switching between databases and supports the excellent and frugal sqlite3 (see more in wikipedia: [3]). See more on sqlite3 below.
There are a lot of blanks in the settings now because sqlite is so easy to configure. All you need is a file name/location.
Now we should also add the admin interface to django - scroll down in settings.py and change into something like this:
INSTALLED_APPS = (
    "django.contrib.auth",
    "django.contrib.contenttypes",
    "django.contrib.sessions",
    "django.contrib.sites",
    "django.contrib.admin", # <<-- ADD ME!
)
In urls.py we also do some modifications. Just uncomment one line:
   # Uncomment this for admin:
    (r'^admin/', include('django.contrib.admin.urls')),
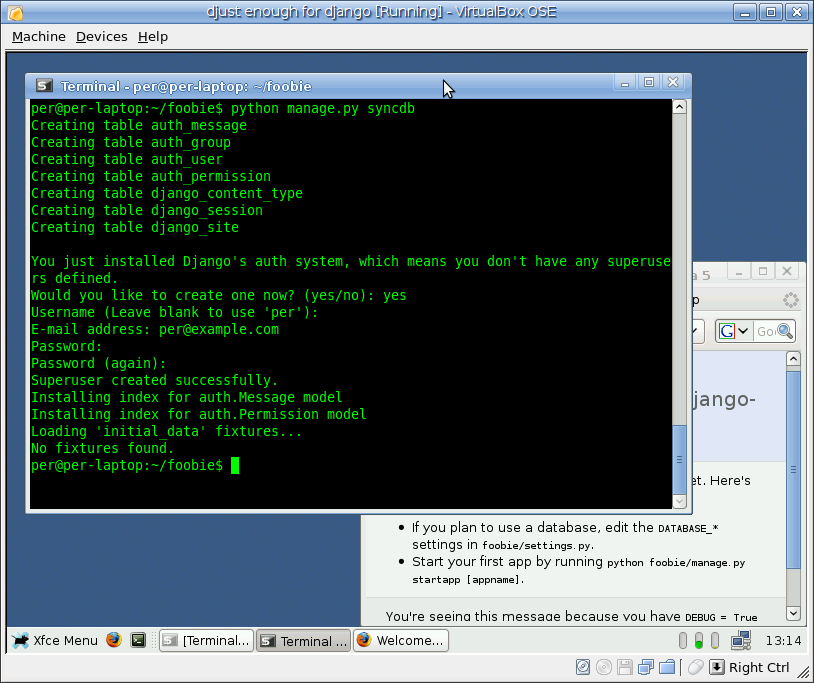
Once that is done we need to sync the database to get started: python manage.py syncdb. We create a new super user and we are ready to try out the admin interface.
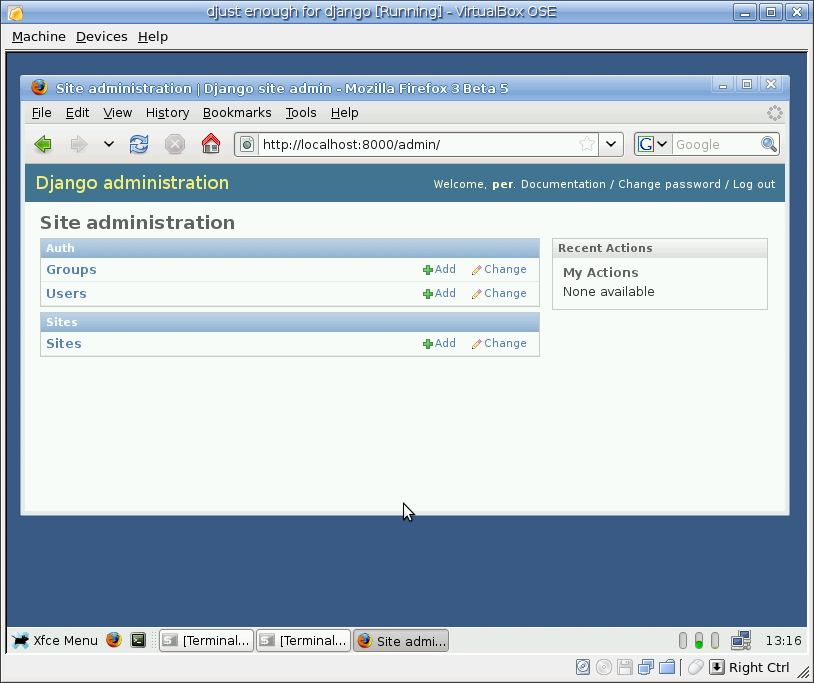
In the admin interface most apps show up allowing you to manipulate values and so on.
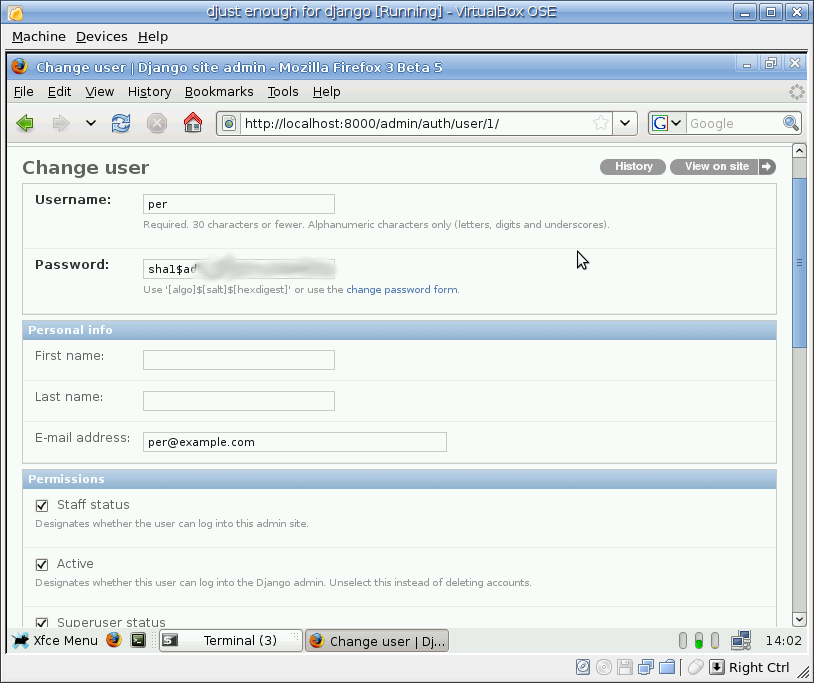
This image shows the upper part of the data stored on users. As you can see the password is not stored in clear text - only a salted hash-value is stored, that is good.
More on sqlite
Sqlite, when used with django, can be a sort of layer between python and a database-file. But sqlite can be run as an interactive sql-prompt from the console. If so it can be used with the same database file as django uses. This can be quite nice to know and use when debugging or repairing things with.
To install sqlite (sqlite3 in our case) from the console you can just execute sudo apt-get install sqlite3.
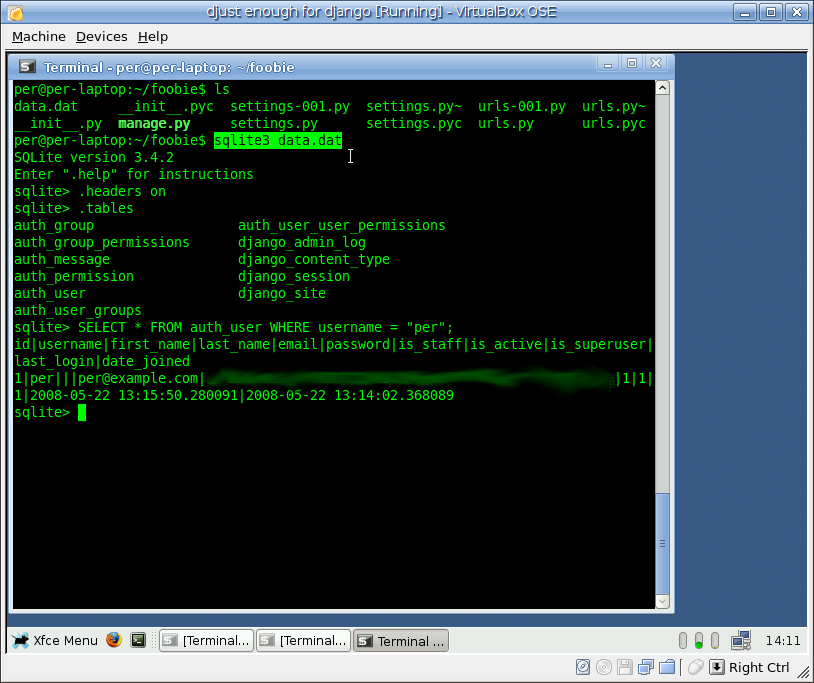
In our case we can now interact with the database from the console with the command sqlite3 data.dat (or whatever name the database file has in your system). No configuration, no crazy setup scripts, no daemon-server-threads running in the background as you (probably) need with both mysql and postgresql - just nice and clean SQL to a file. Can it be simpler? Can it be more beautiful? I certainly do not think so. I really love sqlite and I am not alone. Sqlite is used in Mozilla Firefox, Mac OS X and Skype.
Here is a (censored) view of what it can look like when hooking into the django database (the same as seen via the admin interface above):
There are also a few graphical sqlite browsers out there, on is sqlitebrowser (see [4]). sqlitebrowser needs qt-bindings in linux but is also available for windows (and runs fine in wine).
Since I do not want to pollute my test environment I will not install it, nor demonstrate it here.
Summary and conclusion
We have now installed django, looked at the settings and the database. The next logical step would be to create an application.
Read more here:
- [5] Django Project Home Page
- [6] Django Documentation
- [7] The Django Book (the printed version is also great)
- [8] Wikipedia on the Django web framework
See also:
- [9] Wikipedia on the musician Django Reinhardt
This page belongs in Kategori Programmering